VMware fusion headless
Using OS X for development, or any other os apart from Linux, sometimes means that you have to find a workaround to make things work smoothly. This happens also with Docker.
OS X can’t natively run Docker containers, so you might want to use a virtual machine.
It’s true that there are alternatives like boot2docker, but there are some situations (more on that in a future post) where it is not enough.
At Namshi instead of using Virtualbox/boot2docker, we chose to use the more reliable and stable Vmware fusion. From our experience, it is actually better in terms of memory performance and sharing directories (compared to virtualbox 4, we will see if the brand new vbox 5 is better).
Just like Virtualbox, Vmware Fusion is able to handle a virtual machine in headless mode (with a little bit of shell fu). Headless mode is a way to handle (create, start, stop) a virtual machine by just interacting from the command line. So you don’t need to interact with the UI. Everything is hidden, even the application window. It just works.
We were looking for a way to run the virtual machine in headless mode, just because once you start and access it with ssh, you don’t need to bother about anything else. Sometimes leaving the window open without any interaction may cause some performance issues with the vm. Also, in Headless mode, your desktop doesn’t consume extra memory.
Enough talking, SHOW ME THE CODE!
vmrun power-commands <path-to-vmx-file> noguiThe command vmrun should be located in the /Applications/VMwareFusion.app/Contents/Library directory. The power-commands are all the actions you can perform on the virtual machine (start|stop|pause|halt). You can get all possible options running with the vmrun --help command (or by checking the docs: http://www.vmware.com/pdf/vix162_vmrun_command.pdf).
You also have to specify the virtual machine vmx file that you want to handle. By default, Vmware puts all the vm images in the user Document folder.
In order to use the vmrun command without specifying the path, just create a symbolic link:
sudo ln -s "/Applications/VMware Fusion.app/Contents/Library/vmrun" /usr/bin/vmrun
If you are going to always use the same vm (as we are doing here at Namshi in order to use Docker in the best way), specifying the vm file’s path can be annoying. To simplify that operation, just create a little script like:
#!/bin/sh

if [ -z "$vmFile" ]
  then
    echo "please set your 'vmFile' environment variable to point to your vm's .vmx file"
    exit 1
fi

case "$1" in
  start)
    vmrun start "$vmFile" nogui
    ;;
  stop)
    vmrun stop "$vmFile" nogui
    ;;
  suspend)
    vmrun suspend "$vmFile" nogui
    ;;
  pause)
    vmrun pause "$vmFile" nogui
    ;;
  unpause)
    vmrun unpause "$vmFile" nogui
    ;;
  reset)
    vmrun reset "$vmFile" nogui
    ;;
  status)
    vmrun list
    ;;
  *)
    echo "Usage: possible options are: start | stop | suspend | pause | unpause | reset | status"
    exit 1
esac
Once you have this file in the path /usr/local/bin/vm (or the path you prefer) you are able to run these commands:
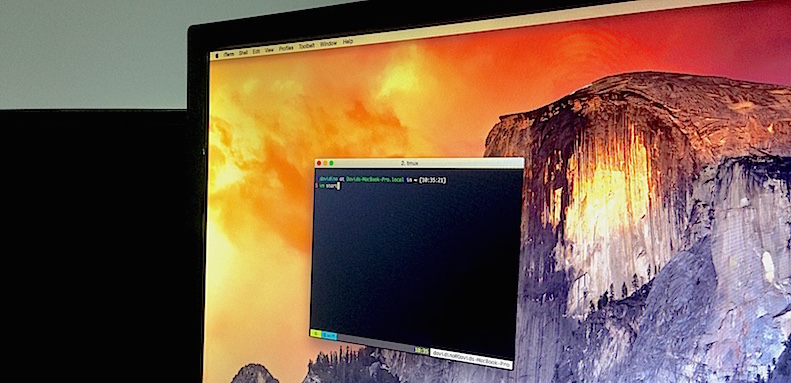
$ vm start
$ vm stop
$ vm pause
...
As you can see from the script, you need one more thing: you have to define the vmFile env variable (set it in your .bash_profile, or .zshrc):
export vmFile="/Users/<username>/Documents/Virtual Machines.localized/Ubuntu 15.04 server64-bit.vmwarevm/Ubuntu 15.04 server64-bit.vmx"Ok, that’s it. Easy peasy. Now you can handle your vmware vm from the command line. We are using this approach on OS X, but it should work on windows too (the helper script might work with cygwin).